

Your self-service portal
In addition to submitting timesheets, you have access to the following functions:
- Your profile information, including the ability to update your personal information.
- Reporting of historical placement data.
- Viewing individual timesheet history.
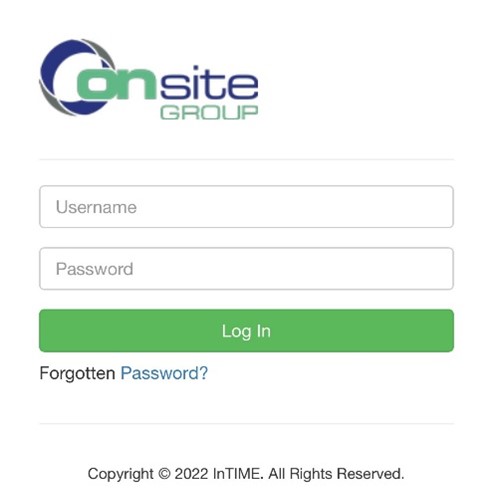
Accessing InTime
To get started with InTime, use the URL provided by Onsite. You will be prompted for your username
and password, which will have been generated and sent to you directly from the InTime system.
Your Homepage
Once you have logged in you will be presented with the main InTime homepage.
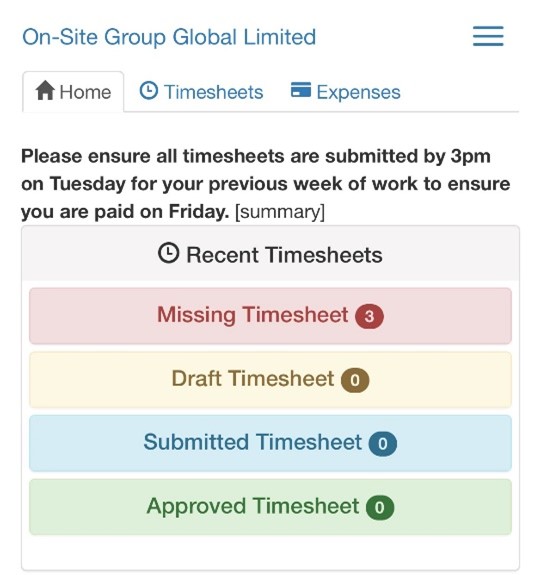
The navigation menu is located across the top of the page.
The menu bar options will include the following as shown above:
- A multi square icon – taking you back to your homepage.
- Timesheets – this provides access to new, draft and previously submitted timesheets, and a timesheet search function.
- Profiles – this gives details of your placements and associated clients.
In the top right hand corner of your screen
- Your name – Click on this, options appear for you to:
- Update your personal details.
- Change password.
- Exit InTime
- Bell Symbol – Advises you of notifications.
- Help – takes you to our on line documentation help bank
Your dashboard
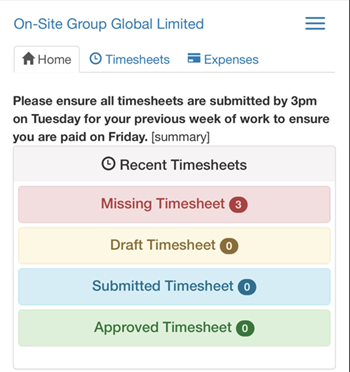
As you scroll down your homepage, your personal dashboard will provide you with a real-time status of your current placement information and timesheet that you can easily access directly from the dashboard.
Timesheet basics
Statuses of timesheets explained:
Missing: Timesheets that should be received during a specified date range but have not yet been created.
Draft: Saved but not yet submitted.
Submitted: Created and submitted for approval. Submitted timesheets cannot be modified so please ensure the details are correct before submitting.
Approved: Approved by your manager for payment.
Rejected: Rejected by your manager. This is usually because of incorrect hours. The manager may have provided a comment as to why the timesheet was rejected. Once rejected, the timesheet becomes a draft for editing and resubmitting.
Entering your timesheet
To begin, hover over Timesheets from the main menu bar at the top of the screen and select Create.
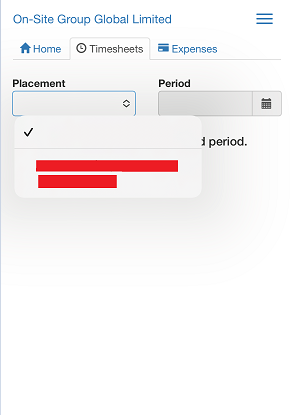
You will then be prompted to select the placement from the drop down box to enter time against, as well as the week ending date. You can use the provided calendar popup to help you select the correct date.
After selecting the period you will be presented with a blank timesheet form similar to the screen shot shown below: Enter Hours/Units/Time as applicable for the period selected. The basic rate is selected by default here, so you can start entering your time for each of the days. The total hours (or hours claimed) is calculated automatically.
If you require additional rates such as overtime, click on the green plus to add a shift and select the appropriate item from the additional rate drop-down.
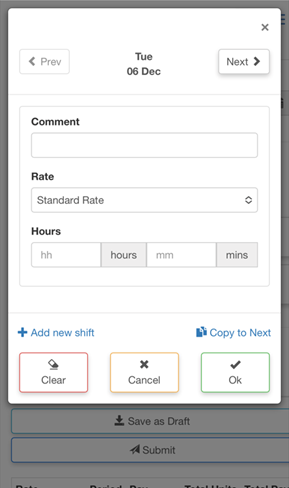
You can click on Save As Draft to store the timesheet which will allow you to return to this information to edit.
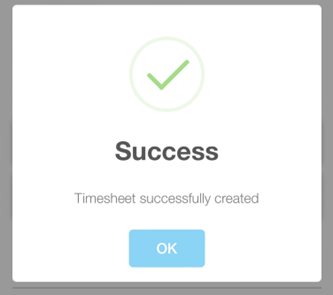
Once you have completed your timesheet click on the Save And Submit button, your timesheet will be sent to your Manager for approval. Please note: You will not be able to make any further edits once the timesheet has been submitted for approval.